


What are the features and benefits of LifterLMS?
LifterLMS offers 5 main benefits for your online training program:
- Construct your best online training program.
- Attract freshmen and generate sales.
- Maximize learner results with engagement.
- Keep your path content private or huge open.
- Integrate your favored different equipment effectively.
Create lovely online publications, quizzes, and greater from one screen with LifterLMS’s flexible drag and drop direction builder.
Make easy online courses, advanced multi-trainer training primarily based membership web sites, and everything in between. Whether you call it an internet path, membership website, or gaining knowledge of a control system, LifterLMS help you are making it.
If you are thinking about setting up an online learning management system, then LifterLMS can be the WordPress plugin for you.
Lifterlms is packed complete of features and capability, making it a splendid option for all, from marketers to global organizations.
You might be interested in learning about creating an online learning platform similar to Udemy. Check out our blog post on How to Create a Udemy Clone.
The WP Engine Advantage:
Lifterlms is a complete all-in-one LMS, membership, eCommerce, and engagement answers. The software is designed around assisting route creators to create learner consequences, now not simply promote get admission to statistics.
And the plugin itself is designed to be infinitely extendable and easy to hook up with your different favorite gear, or even be extended in capability via custom development.
How to Create an Online Course with LifterLMS: A Step-by-Step Guide
Step 1: Install LifterLMS
Putting in the LifterLMS plugin is stepped one in this manner. To achieve this, open your WordPress dashboard and pick out plugins > upload new.

Then, in the search bar, type in LifterLMS.
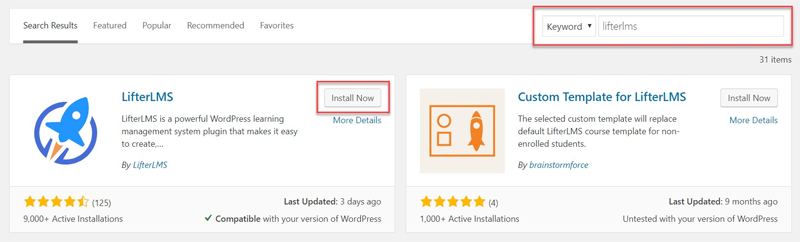
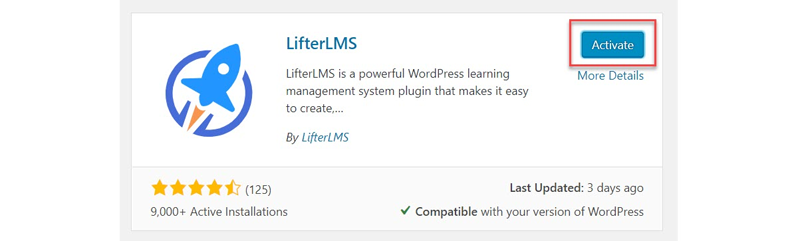
As soon as the plugin has been retrieved, click on Install Now > Activate.
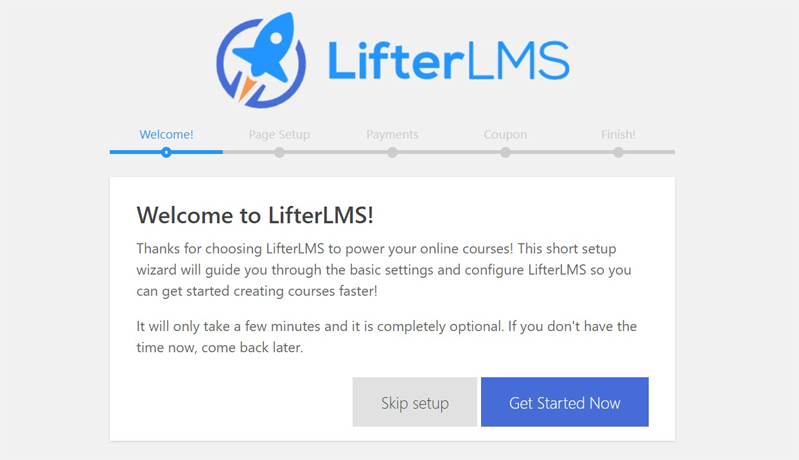
The LifterLMS startup wizard will now open that will help you configure the plugin and guide you via the simple settings. Allow’s take a glance…
Step 2: Complete the Startup Wizard
Although completing the startup wizard is elective, we suggest which you do it as it offers you terrific expertise of what this plugin has to provide and the way to navigate your way around its many features. To use the wizard, click on get began now.
LifterLMS will now proportion facts on the pages it has robotically created to your site. Those consist of…
- Direction Catalog – Here site visitors can browse all to be had publications.
- Membership Catalog – This web page will show a list of all membership options.
- Checkout – Right here traffic can buy the course or membership plan they’re interested in.
- Student Dashboard – This is in which college students can manipulate their guides and account.
Using clicking on every of these page names in the startup wizard, LifterLMS will send you to its know-how base in which you may find out extra data on each of these pages, in addition to a way to customize the settings.
Note: All pages can be edited or deleted, or new pages added, within your WordPress dashboard. To do so, click on Pages > All Pages.
Subsequent, beneath bills, select which default country and currency you want to display on your website.
Lastly, the wizard will offer you similarly studying to get you started, a hyperlink to video tutorials, and the choice of putting in a sample direction in case you don’t need to create a course from scratch. (we recommend selecting deploy a sample route).

Step 3: Create an Online Course with LifterLMS
Once you’ve got finished the wizard, you will be capable of getting admission to the LifterLMS plugin from the menu within your WordPress dashboard.
To create a new course, out of your WordPress menu choose Courses > Add Courses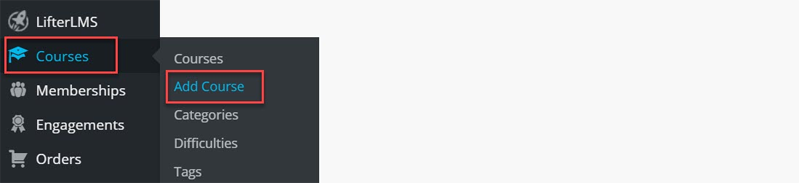
Write a Course Description
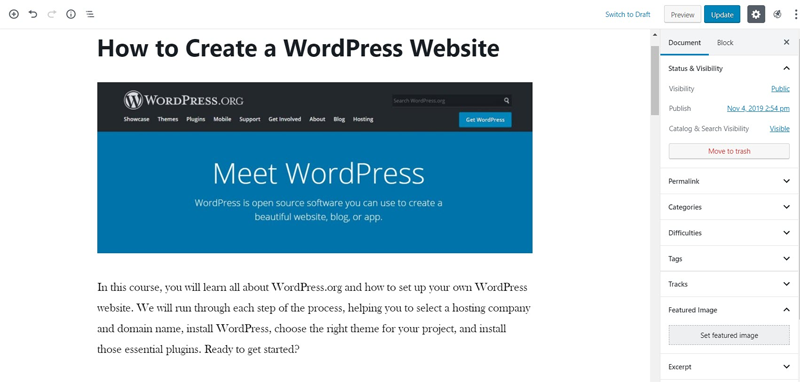
In the editor, you may find a template for the course description. Give your new course a name and then upload a description, featured picture, information about the path trainer, and extra.
Clearly add and delete content material blocks the use of the Gutenberg editor depending on what you want to show for your course description web page.
Create a Course Structure:
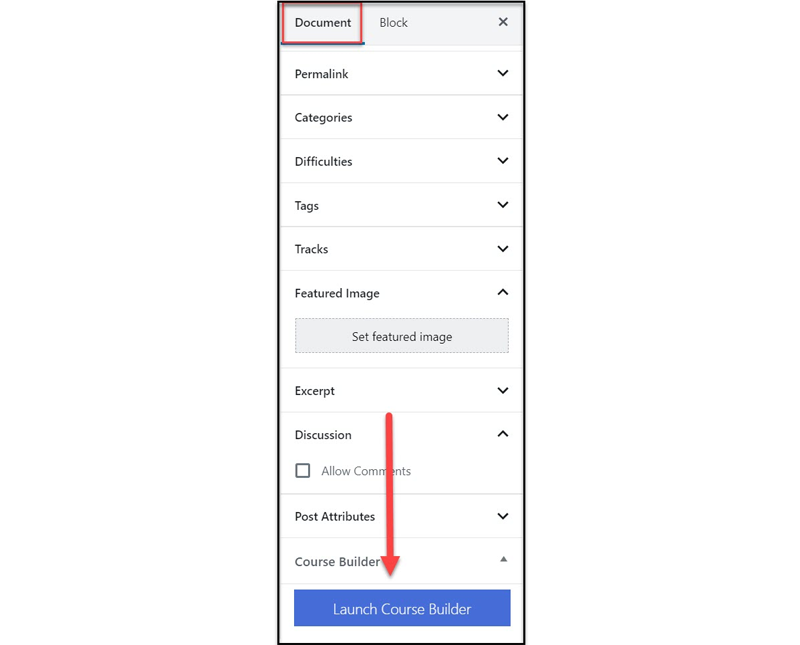
Next, you want to create your course structure. To try this, click on the launch course builder from the right-hand editor menu. The course builder will now open and you may start to create your course.
Courses are broken down into sections and lessons. Here you could see I have introduced numerous sections after which several training for every section. To feature a segment or lesson, in reality, click on the appropriate button from the right-hand side menu.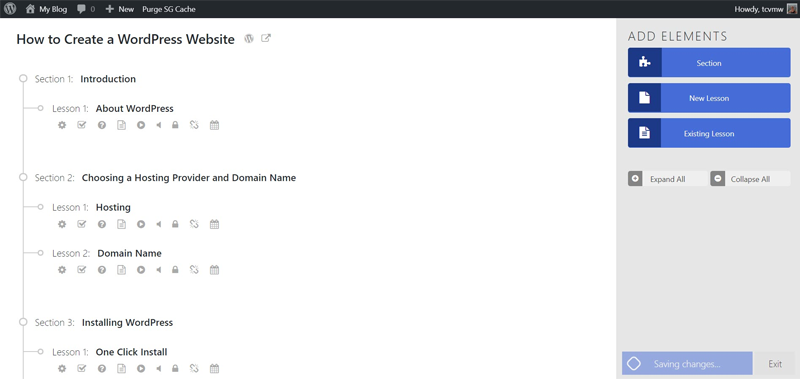
Add the Course Content:
Next to each lesson, you will find several icons.

These include
- Open WordPress Lesson Editor
- Add an Assignment
- Add a Quiz
You will also find icons for viewing your course on the front-end of your site, and editing the settings.
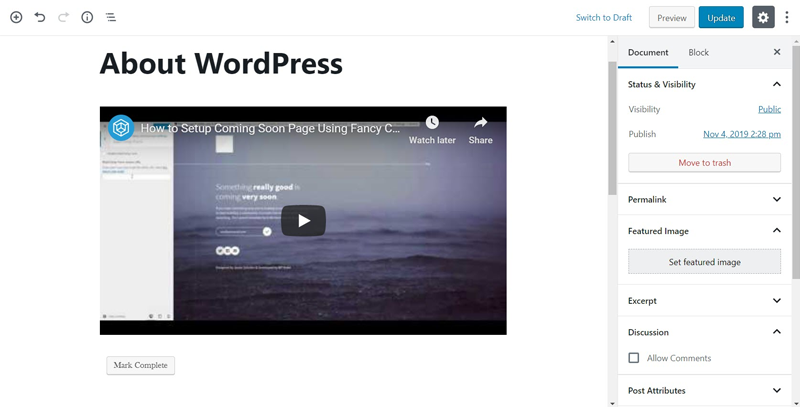
Here, we have clicked on the Open WordPress Lesson Editor icon, so we can add our content within the lesson editor.
You will see we have used the Gutenberg editor to add a YouTube embed block, and we have embedded an interesting video to help grab our students’ attention.
You will now need to go through and add content for each of the lessons you have created in the Course Builder.
Display Progress and Lesson Widgets in the Sidebars:
Once you have created all your lessons and the course content is complete, you now need to add progress and lesson widgets to your site’s sidebars to ensure the course is easy for your students to navigate.
To do so, within your WordPress dashboard, click on Appearance > Widgets.
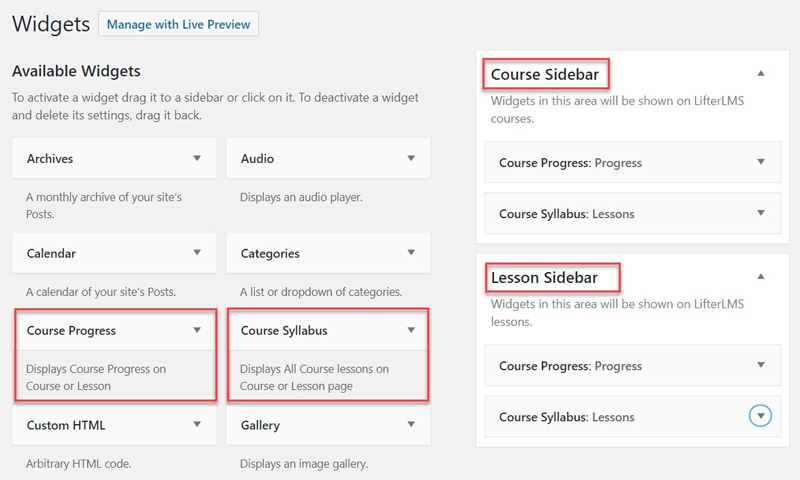
Widgets:
Here you will find two widget areas – the Course Sidebar and the Lesson Sidebar. To both sidebars, add the Course Progress and Course Syllabus widgets. Here, I have given them the titles Progress and Lessons.
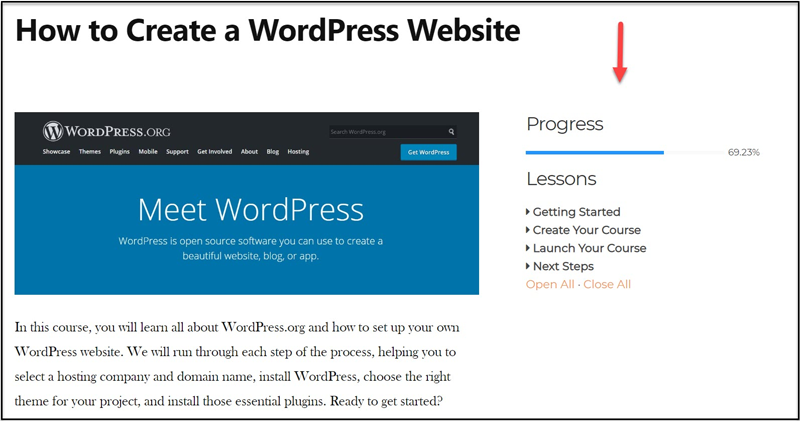
Now, when you preview your course overview and the individual lessons, you will find a progress report in the sidebar, as well as links to each lesson in the course.
Step 4: Set a Price
After you have finished growing your route, all this is left to do is to set the charge and access necessities. To accomplish that, in the route editor, scroll down to access plans and click on upload new.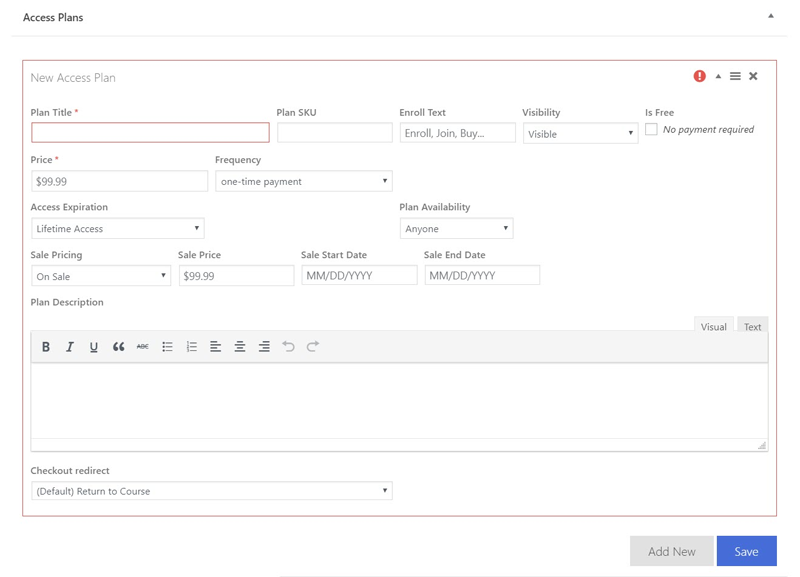
Here you may need to provide your plan a name and upload an outline.
You may also set the charge, whether or not you want a one-time payment or subscription plan, begin and end dates for a person to get admission to, and plenty extra.
In case you need your direction to be supplied totally free, you may also pick this as an option.
It’s miles well worth mentioning that in case you need to sell your online guides you will need to buy one of the premium eCommerce extensions furnished via LifterLMS. Presently, this plugin integrates with…
- PayPal
- Stripe
- WooCommerce
- Authorize.Net
Alternatively, you could take manual bills by taking a look at them via your website with LifterLMS.
Techwink Services recommends WpEngine Managed Hosting
Contact us for LMS development services.